How to Check Continuity on Refrigerator Thermostat
From commercial refrigeration to cooking equipment, thermostats are a key component in different types of units. They regulate temperature of the interior cooling cabinet, cooking compartment or oil vat, ensuring that product is safe and maintains the quality restaurants and food establishments require for their brand. When equipment doesn't reach proper temperature, troubleshooting is necessary. One of the first things to do is check if thermostat is working. This guide explains to technicians how to test a thermostat in commercial food equipment, focusing specifically on refrigerators, ovens and fryers.
Keep in mind that the procedures below are meant to be universal. It's always best to check the service manual provided by the manufacturer for the most accurate ways to test the equipment's thermostat.
Performing a Continuity Test
When you test a thermostat on commercial food equipment, you need to see if the part has continuity, which is the continuous flow of electricity. When there is continuity, the thermostat should be working properly. If there isn't continuity, then you know it's faulty and needs to be replaced.
What You Need
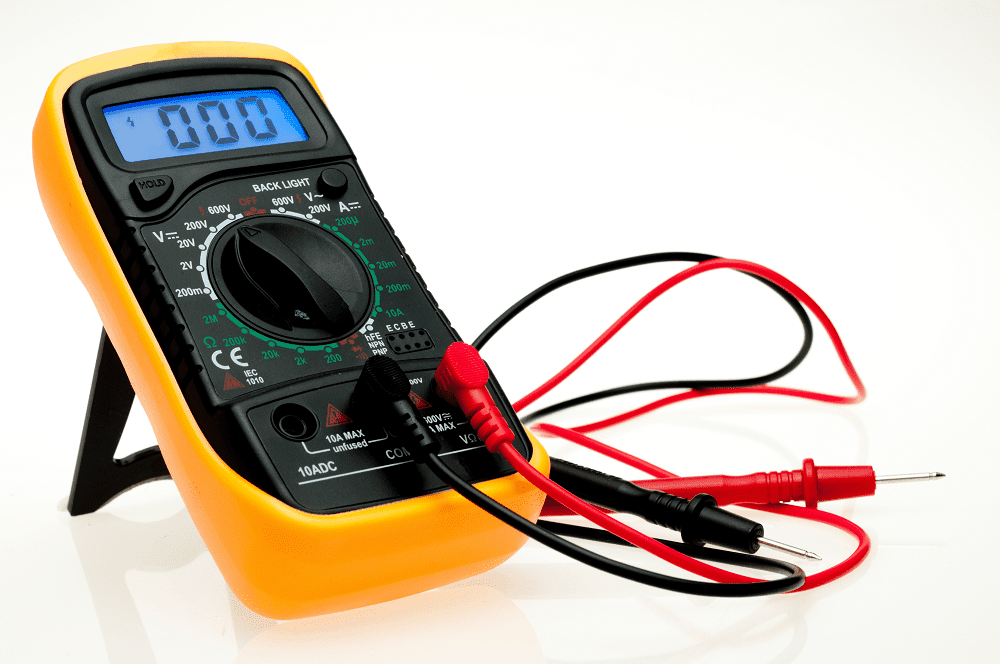
Multimeter: All you need is a high-quality multimeter to test continuity, whether it's an analog or a digital device. As we've highlighted before, there are a wide variety of options on the market you can use to test continuity. You should be able to easily find a solution that fits your needs, comfort and budget.
Testing a Refrigeration Thermostat
This procedure can be followed on most residential and commercial refrigeration units.
- Step 1. Turn the unit off – Start by powering down the refrigerator or freezer and unplugging the power cord.
- Step 2. Remove the thermostat – Disconnect the thermostat from its assembly inside the unit. While you can test the thermostat inside the unit, isolating it makes it easier to test.
- Step 3. Prepare your multimeter – Move the dial on the multimeter to the lowest Ohms of resistance setting or to resistance with tone, if available. On analog models, calibrate the meter by pinching the probes together and adjusting the needle on the analog display to reach zero.
- Step 4. Place the thermostat in cold water – Refrigeration thermostats are activated by change in temperature, so put it in container of cold ice water for a few minutes.
- Step 5. Connect the thermostat to the probes – Carefully connect one of the multimeter's probes to one of the terminals. Repeat this with the other probe and terminal.
- Step 6. Check the continuity reading – If the screen shows zero Ohms of resistance, there is continuity in the thermostat. If the analog multimeter's needle doesn't move or the digital model doesn't display a reading, there is no continuity.
Testing an Oven Thermostat or Sensor
The instructions for testing an oven sensor are similar to the steps above with only a few variations.
- Step 1. Turn the unit off – Start by powering down the oven and unplugging the power cord.
- Step 2. Prepare your multimeter – Move the dial on the multimeter to the lowest ohms of resistance setting or to resistance with tone, if available. On analog models, calibrate the meter by pinching the probes together and adjusting the needle on the analog display to reach zero.
- Step 3. Connect the thermostat to the probes – With the oven off, carefully connect one of the multimeter's probes to one of the terminals. Repeat this with the other probe and terminal.
- Step 4. Check the continuity reading – If the screen shows between 1,000 and 1,100 ohms of resistance at room temperature, there is continuity in the thermostat. If the reading falls anywhere outside this range or no reading displays at all, there is no continuity.
Testing a Gas Fryer Thermostat
Our friend Josh Zolin from Windy City Equipment has made a bunch of helpful repair and diagnostic videos over the years. Below is a video with his instructions for testing an RX fryer thermostat as well as written steps.
- Step 1. Turn the unit off – Start by powering down the fryer to the OFF position.
- Step 2. Prepare your multimeter – Move the dial on the multimeter to the lowest Ohms of resistance setting or to resistance with tone, if available. On analog models, calibrate the meter by pinching the probes together and adjusting the needle on the analog display to reach zero.
- Step 3. Connect the thermostat to the probes – Carefully connect one of the multimeter's probes to one of the terminals. Repeat this with the other probe and terminal.
- Step 4. Turn the fryer on – Whether it's a dial or key operation, you'll need to turn the thermostat on while it's connected to the multimeter.
- Step 5. Check the continuity reading – If the screen shows proper resistance based on the temperature setting, there is continuity in the thermostat. If the reading falls anywhere outside this range or no reading displays at all, there is no continuity.
Source: https://www.techtownforum.com/2021/10/12/how-to-test-a-thermostat-on-food-equipment/
0 Response to "How to Check Continuity on Refrigerator Thermostat"
Enregistrer un commentaire